Friday, June 29, 2012

Friday Free-For-All!

Happy Friday Everyone!  Today is a special day because this is my 50th post!  It seems like I just started this blog but it is quickly growing and evolving.  I am so grateful to everyone that reads Blue 11 Interiors, whether you follow it daily or if you've only checked out one or two posts. 

As a thank you I am sharing this Summertime Subway Art piece that I created.  It's an easy (and free!) way to bring some colorful seasonal decor to a room.  This is free for personal use only.  To download, just right click on the picture, click save, and save it to a file of your choice.  Then you can print it on your home printer or through any other service.  Enjoy!


Thursday, June 28, 2012

NYC Studio Apartment, Part 2

Tuesday I shared my plans for Jon’s tiny 300 square foot studio apartment’s living room.  Today I’m finishing the space with ideas for his bedroom.  I kept the big pieces of furniture white so they would keep the room nice and light, but you could certainly make them all black or brown or mix it up a little bit.  Take a look!

Bedroom

1.  Triple Tiered Pendant Shade, Urban Outfitters.  These pendants provide stylish bedside lighting that won’t take up valuable tabletop space.
2.  Velvet Tufted Headboard, Urban Outfitters.  An upholstered headboard will make the bed a comfortable place to hang out and read or work on the laptop. I love the aubergine color of this one but Urban Outfitters has several other options, or you can check Joss and Main, they always seem to have upholstered headboards on sale.
3.  Brown/Natural Wall Mirror, Target.  Mirrors are a great way to make a space seem bigger and I like the texture this would bring to the space.  Hang it above the dresser for a place to do makeup and get ready.
4.  Anywhere Pedestal Table, Pier 1.  These pedestal tables are about half the width of traditional nightstands so they won’t take up too much space.  The shelves and drawers will still provide necessary bedside storage though. 
5.  Expedit Shelving Unit, IKEA.  The quintessential small apartment piece.  Use it as a room divider between the living room and bedroom.  The open shelving can be used as a bookshelf or with baskets for storing small items.  You could even keep folded t-shirts or sweaters and shoes on the lower shelves. 
6.  Hemnes Dresser, IKEA.  Plenty of storage for a small price tag.  I would update the drawer knobs with something more interesting and unique.

I also created some mock up floor plans on Autodesk Homestyler with the actual dimensions of the room to give you an idea of how everything would fit together.

Layout

Wednesday, June 27, 2012

Mantle Styling

I'm sorry but there's no Part 2 post today, it's just not done yet.  So instead I'm going to share what I did with my fireplace mantle!


I should have taken pictures of my process because it took a long time to get to this arrangement of these five objects.  It's not perfect but I like it for now.  I love the scale and pop of color of the Paris map and I like how the other items look with it. 

Tuesday, June 26, 2012

NYC Studio Apartment, Part 1

One of Ben's med school buddies is moving to New York City for his residency.  I think he and his fiance are excited to move the Big Apple, but they're probably not as excited about their apartment though.  As I'm sure you know, space is at a premium in NYC, so they will be renting a 300 square foot studio apartment that's owned by the hospital.  Two people living in 300 sq. ft. will be a challenge, and furnishing the space will be just as hard.  I told Jon I would try to come up with some ideas for his new home.  When dealing with a tiny space you want to focus on finding pieces that a) do double duty, b) provide storage, or best, c) both.  Here's what I came up with for the living room area. 


1.  Laboratory Lamp, Urban Outfitters  A lot of apartments either don't have overhead lighting or if they do, it's pretty terrible, so I wanted to bring in some lighting for them.  This one is nice and skinny so it won't take up much floor space. 
2.  Night and Day Convertible Sofa, Urban Outfitters I love the color and clean modern lights of this sofa, plus it folds down to a nice sized bed.  Perfect for out of town visitors!
3.  Bonjour Multi Hook, Urban Outfitters Don't forget about vertical space for storage and display.  Wall hooks like these provide a great place to hang jackets and bags, or you can use them in the bedroom to hang necklaces or scarves.  Urban Outfitters has a lot of other cute options too. 
4.  Zigzag Rug, Urban Outfitters A rug will add pattern and texture to the room and it will help define the living room area.  
5.  Embossed Cement Laptop Table, World Market Use this as a side table, tv tray, or as a laptop table.  The open base means it won't take up much visual space.  
6.  Red Mimic Cube, Crate and Barrel I love these little tables.  They come in a bunch of colors but I like the pop the red would add to the space.  Use two of them in place of a standard coffee table.  If you have people over you can move them off to the side and stack them on top of each other.  The open base is perfect for storage too.
7.  Josephine Desk, World Market A nice simple desk for you to work or even eat at.  
8.  Navy Ottoman Pouf, Etsy Poufs are great for extra seating or for lounging on the floor.  They also add more color and texture to the space, and like the cubes, you can stack them off to the side if you need more space.  
9.  Manhattan TV Stand, Target Great clean lines with plenty of storage for DVD's or anything else you'd like to stash away.

I'll be back tomorrow with a mood board and more ideas for the bedroom!  

Monday, June 25, 2012

TV Stand Makeover

We had been using a small console table from Pier 1 as a TV stand in our apartment.  It worked well there but it just didn't look right in the new house, plus it only held maybe half of our DVD collection.  I wanted to get a new one but I didn't want to spend very much money.  So on one of our many shopping trips to Target last week we found this TV stand for $89.99.
I liked the clean lines, the height, and the amount of storage available.  I didn't like the huge splash of brown though, but I had an idea to spruce it up.  My inspiration was this credenza that Emily Henderson used on an episode of "Secrets From a Stylist."


That TV stand is a credenza she bought from an antique store.  It was originally all wood but her contractor painted the outside white to mimic a high end mid-century modern piece.  So Ben and I copied Emily and painted the top, sides, and front edges of the bottom and middle pieces.  Take a look!


What do you think? I am really happy with how it turned out! The paint job isn't perfect and it may need to be touched up in a few weeks but I think we have a great Danish mid-century modern inspired custom piece for only $90 plus the cost of primer and paint.  And even though it's from Target I am allowed to call it a Danish piece because it was all made in Denmark! 

I also got the other two curtain panels hung up in the bedroom and Ben assembled my chair for me. 


Yes that is my Leo cat slinking across the bedroom as I was taking the picture.  The room is starting to come together! It still needs artwork and accessorizing but it's getting there!

Friday, June 22, 2012

20x200 Art

20x200 is a fantastic resource for buying quality artwork at reasonable prices.  In March I paid $35 for a $60 gift certificate to 20x200 during a sale at Joss and Main.  I have a few more months to use it but I'd like to get a new piece for the house.  Here are my top three choices as of right now.

prettymaps (paris) by Aaron Straup Cope

B Side #6 by Rubi Lebovitch

Ideal Bookshelf 353: English Lit by Jane Mount
Which of these would you choose?  Votes are appreciated! 

Thursday, June 21, 2012

New Additions

In addition to spending a lot of time unpacking and setting up our house we've also been doing a lot of shopping and spending way to much money on all of the little things one needs for a new house.  Here's a look at some of the items we've bought.
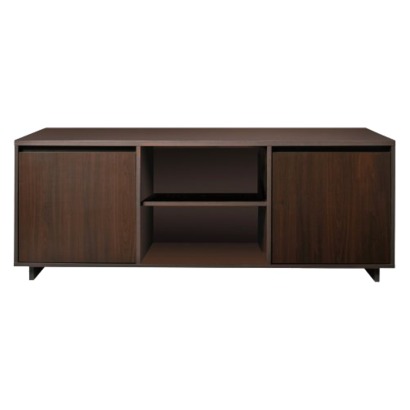
First is my beloved Target chair that I bought back in April.  Obviously I've owned this for a while but it's been in storage at my mother-in-law's, disassembled in the original shipping box.  Now it's finally put together hanging out in our living room and I love it! It's twin is still sitting in pieces in my bedroom but it'll get put together soon. 


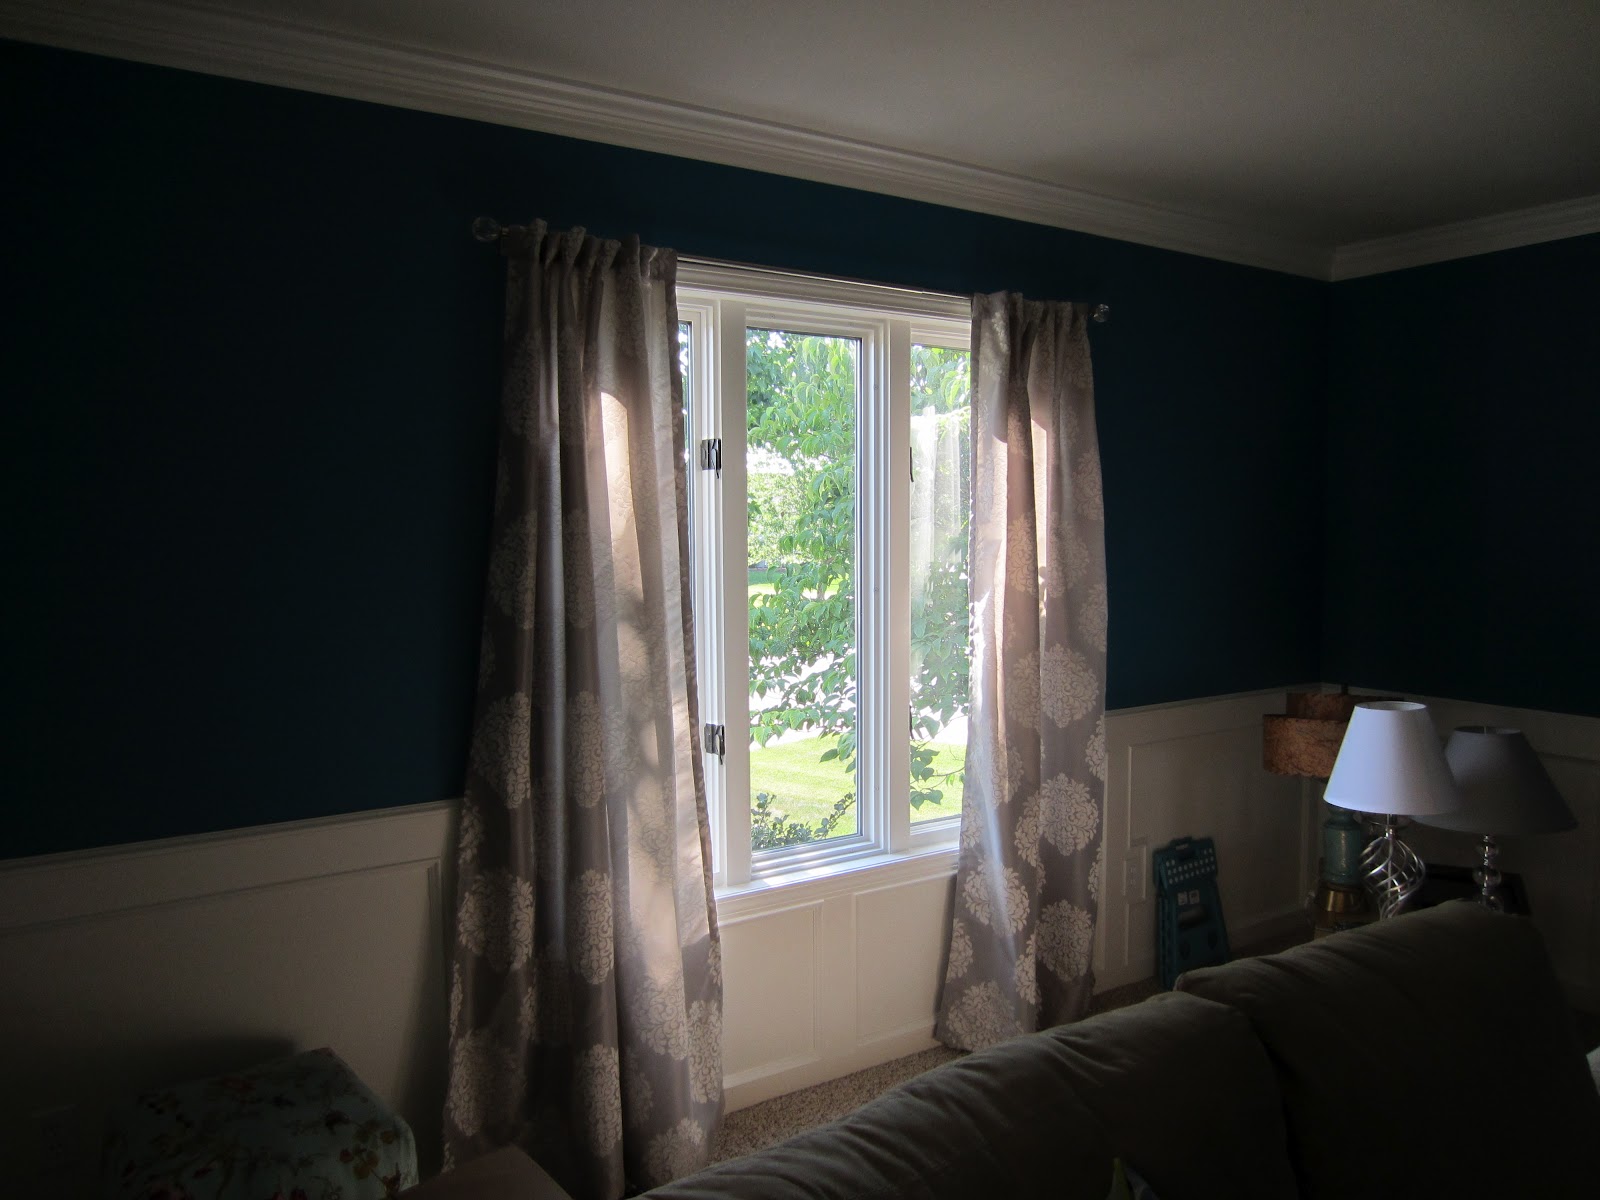
Next up are my new curtains.  This first set is in our living room.  They are from Target and they normally retail for $29.99 each, but they were on sale for $28.49 this week.  I'm sorry for the bad pictures, I was taking them during the day but the sunlight was messing up my shots. 


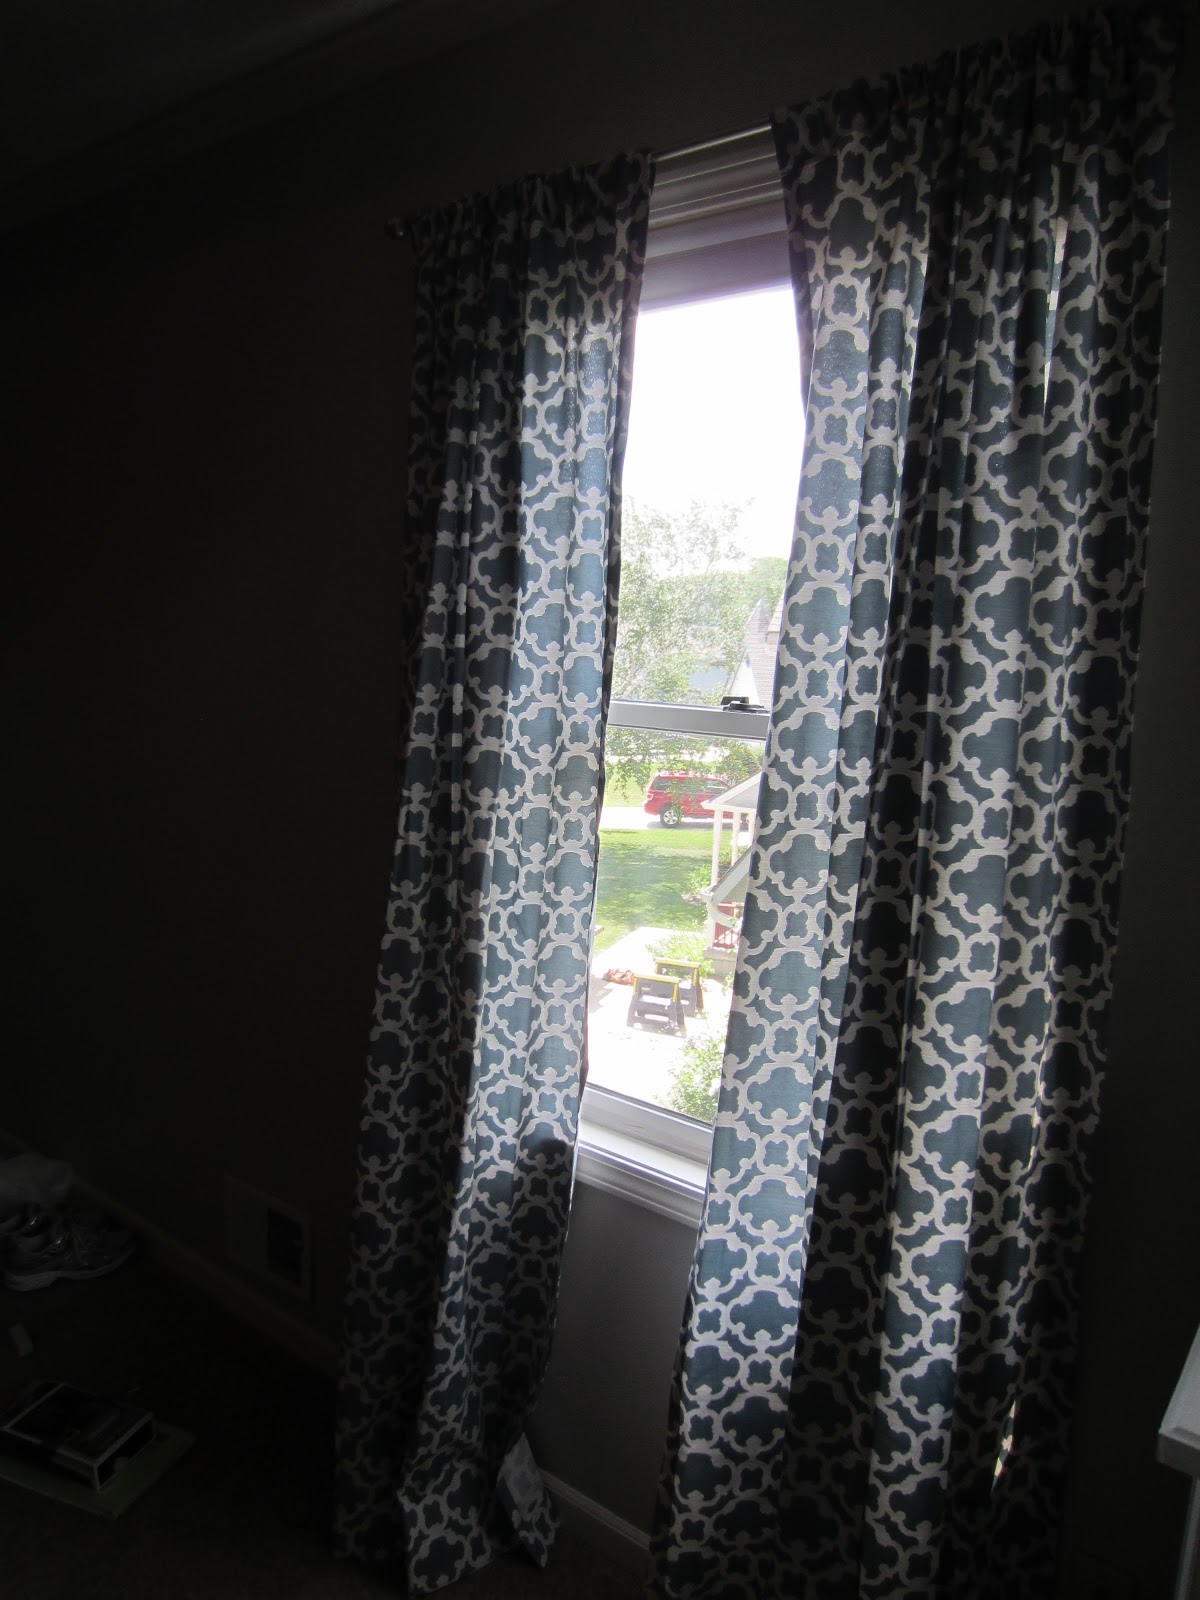
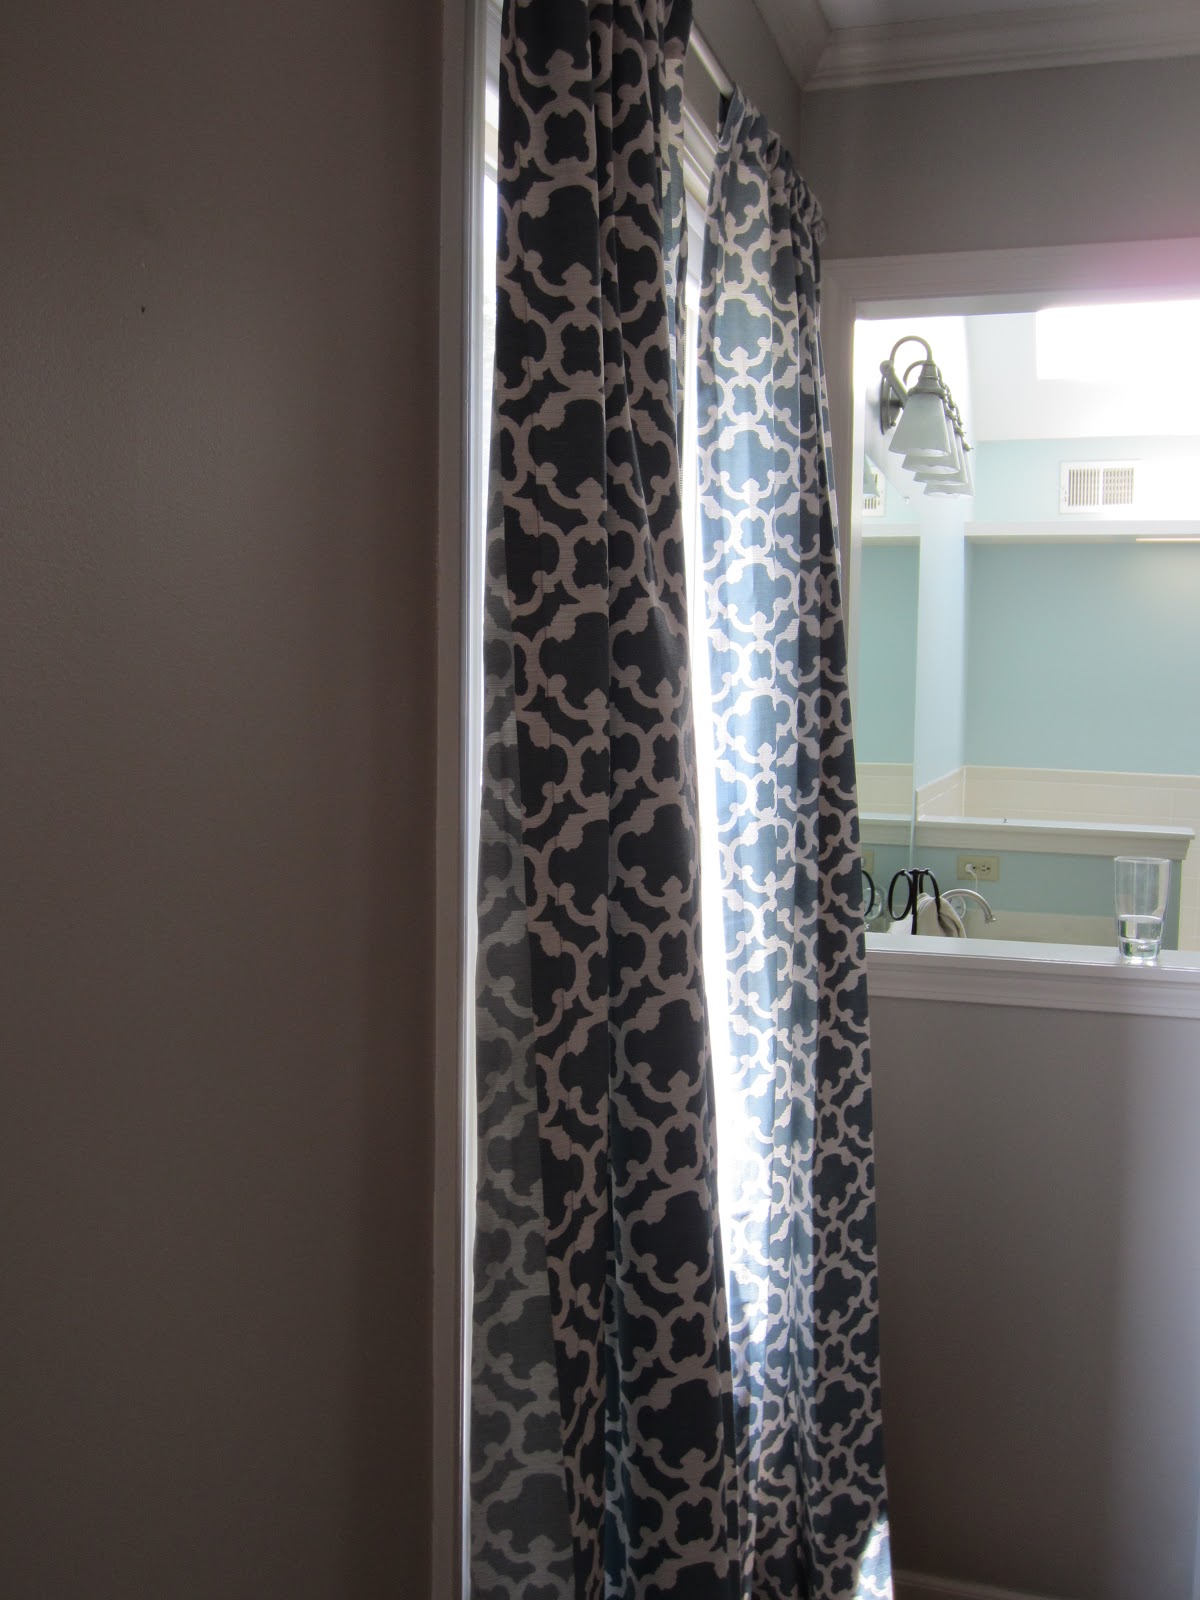
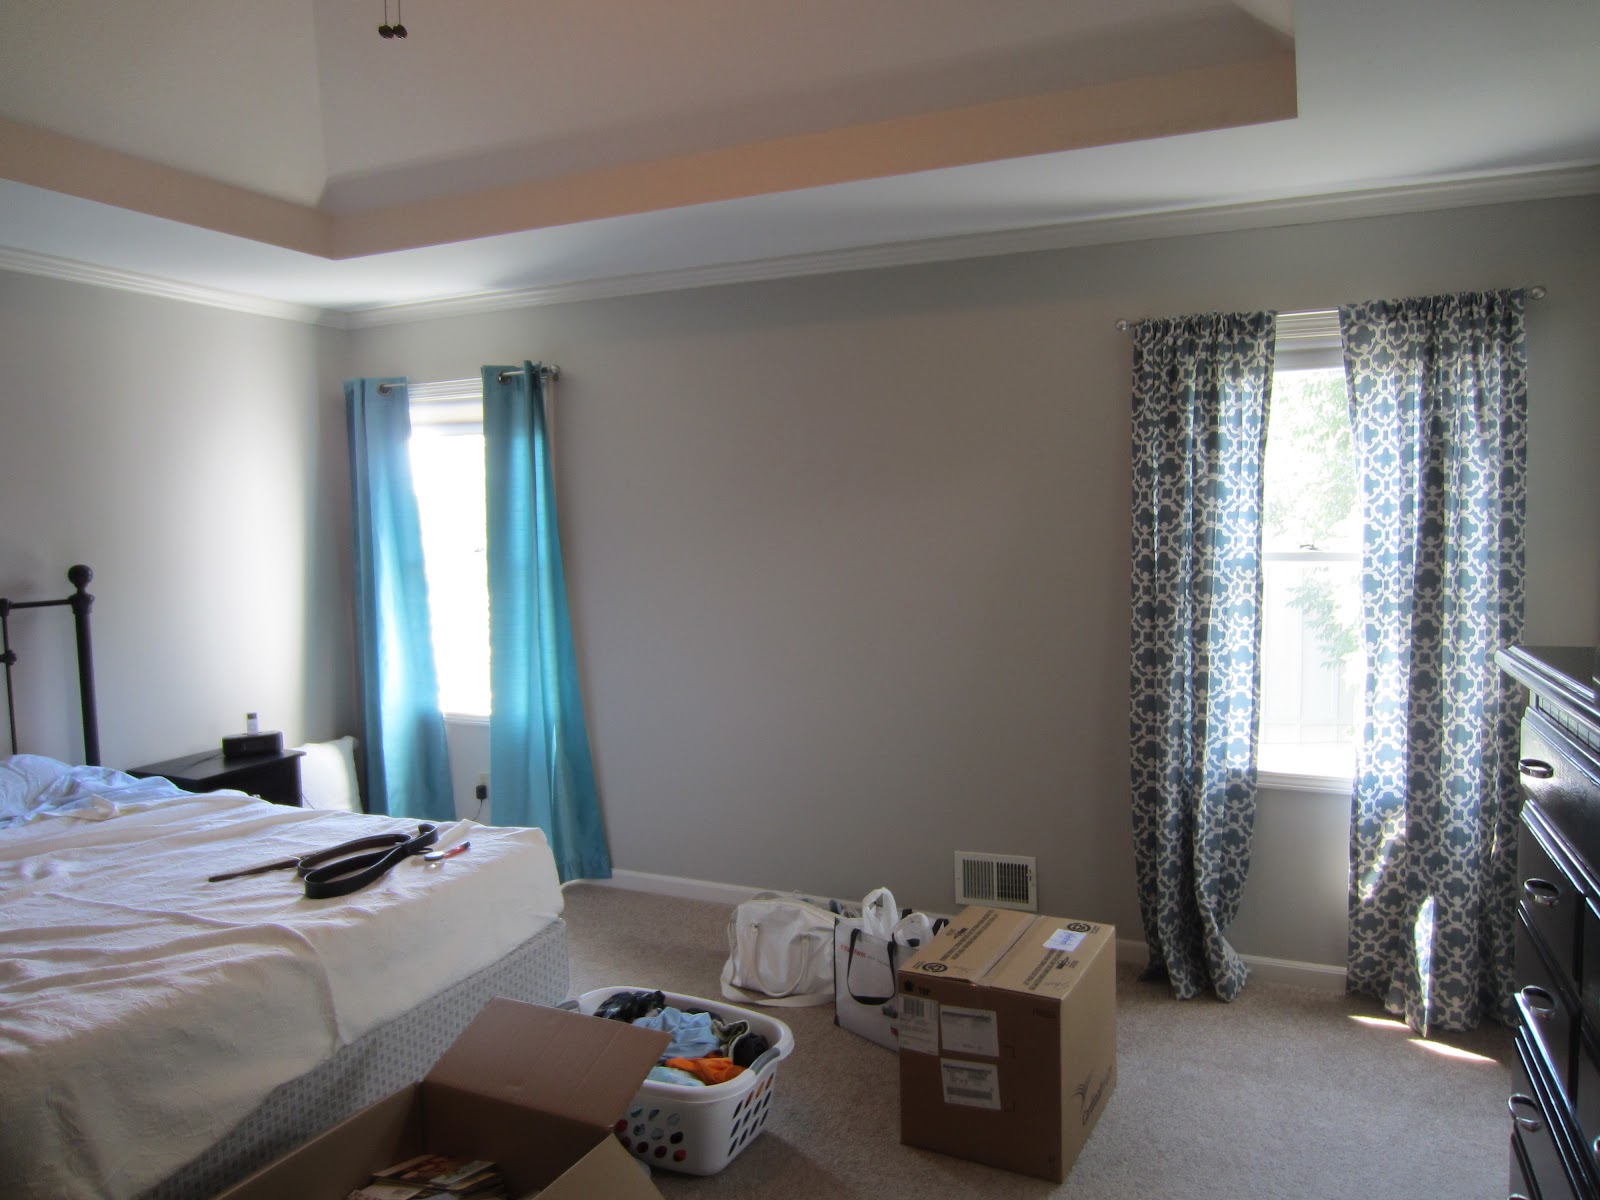
I also bought new curtains for our bedroom.  The previous owner actually left some white sheer curtains and nice curtain rods in the room and I wasn't planning to replace them immediately.  After our first night in the new house though we realized that the sheers actually let it a lot of morning sunlight though.  We picked up a couple different options: a bright blue set of blackout curtains from TJ Maxx, and a blue and white pattern set from Target.  You might remember that I had spotted the patterned curtains during my Tar-jay shopping trip in April.


It turns out that the bright blue curtains from TJ Maxx are kind of obnoxiously bright, and they didn't block much more light than the Target ones, plus I like having the pattern in there versus the solid splash of blue.  We had bought the last two panels from our local Target though, and they don't have them online, so we went to the next closest store to get the other two.  They only had one, so then I texted my sister-in-law and asked her to pick up one more for us at the Target near her.  It only took three people shopping at three different Targets but we eventually acquired a full set :) 

I'm also slowly putting up decorations.  Here's a look at the little shelving nook in the kitchen, the first area that is somewhat complete.  

And last but not least I'm sharing a few pictures of my Finnley dog taken while he was hanging out on the couch next to me the other day. 


Isn't he just the cutest :) 

Wednesday, June 20, 2012

DIY Ceiling Light

Since we moved the chandelier from the dining room to the entryway we needed to get a new light for the dining room.  We wanted something that was flush mount to the ceiling so we wouldn't keep bashing our heads on the light when we walked through there.  I really like the more modern options, something along the lines of this:
Shades of Light
I also wanted to stay far, far away from the "boob lights".  You know the ones I'm talking about right?
Lowes
You see what I mean by "boob light" now?  They're cheap though, which is why they're used so much.  I like the modern lights much better but they're much more expensive.  The Shades of Light lamp pictured above is $99, and the least expensive option I could find from Lowes was still $74.  Not terrible but more than we wanted to spend.  So I searched my favorite blogs for an inexpensive DIY alternative.  There are several good options out there, but my favorite (mainly because it seemed to be the simplest) was from Young House Love:

Yep, that's a lampshade hanging from the ceiling.  They just unscrewed the light bulb, slipped the shade over it, and screwed the bulb back in.  It's the same way you would put a lampshade on a lamp but upside down.  Looks pretty easy to me!  So we went out shopping for our own lampshade but it turns out it wasn't quite so easy.  All of the shades we found had too small of a ring where the light bulb should go.  So we kept looking and came across a shade from HomeGoods that looked like it could work with a little bit of creativity.  My handy hubby bought a harp from Target and rigged it to the basic light plate from Home Depot.  Basically he drilled out the existing holes in the light plate so that they would be big enough for the rods of the harp to fit through.  He also added a washer to the light bulb screw so that it would keep the whole fixture in place.  Here's what that looked like:


Then we just added the lampshade and the light bulb and ta-da! Brand new ceiling light!


Yes, it still kind of looks light a lampshade on the ceiling, but I like it! I love the geometric print and I love that the top and bottom of the shade are the same diameter.  It makes it look slightly less like a lampshade and more like a real ceiling light, right? My favorite part is how inexpensive it is though.  Here's the cost breakdown:
                                Light plate:     $1.38
                                Harp:             $6.19
                                Lamp shade:  $16.99
                               __________________
                                Total:             $24.56

So for less than $25 plus the cost of the light bulb we have a new, unique, and modern flush mount ceiling light!                                

Monday, June 18, 2012

We're In!

Hi everyone! It's been a busy week and an even busier weekend but we are finally moved into our new house! We spent almost all week either packing, deep cleaning the house, or moving stuff down here, so when everyone came over Saturday at 9 a.m. to help us move we were ready.  We rented a 26 foot UHaul truck and we had that thing loaded in just over an hour.  All of us made the 40 minute drive from the apartment to the house and then we spent the rest of the day unloading the truck and getting stuff set up around the house.  I want to give a really big thank you to my sister-in-law Beth, her boyfriend Brent, our friend Phil, and my fathers-in-law Doug and Randy for all of their help yesterday.  I also want to give an extra big thank you to my mother-in-law Traci for cleaning Tuesday and Thursday and helping out a ton yesterday.  We couldn't have made the move without you guys!

Both of Ben's dads are very handy and knowledgeable about home stuff so while they were here yesterday we had them help with a few projects.  Now that the living room has been repainted we needed to replace the ugly old cream colored outlets and light switches to crisp new white ones, so Randy got all of those installed for us.  We also wanted to replace the faucets in our master bathroom since they were pretty old and gross, so Ben and Doug worked on that.  I love how the new faucets look!


The other big project we did was taking down the entryway chandelier and replacing it with the chandelier from the dining room.  I had debated whether it would work or not in this post, but I am so glad we went with it.  It looks fantastic!  We also decided to hang it 8 feet from the floor instead of keeping it as high as the brass light was.  Thank you to Doug for hanging out on the super tall ladder and changing that out for us!


Do you remember how I wasn't 100% convinced about the blue in the living room?  Well with just a few big pieces of furniture in there I love it so much more!  It's a bold color but I think it's going to be perfect for us.


There still is a LOT more work to do in the house but it feels nice to be home :)

***P.S.*** If you enjoy reading my blog I would love for you to become a member! Just scroll down on the right hand side until you see the button that says "Join this site."  Thanks!  

Thursday, June 14, 2012

Living Room Paint Makeover

Our living room is finally painted! It was supposed to be done while we were in Europe but the painter had a death in his family so the job was delayed.  The painters just finished up yesterday and we got to see it this morning when we went down to the house to clean. Want to see what it looks like?  First, here's a reminder of what it looked like when we bought the house.


We weren't digging the beige walls and dark wood wainscoting and trim, so we had it updated to this...


It looks so much better now! I absolutely love the white trim, it makes the room like 1,000 times brighter.  You might remember from this post that I had a hard time choosing a shade of blue and I *think* we picked the right one.  It still looks kind of bright but I'm holding back judgement until we have our furniture moved in and we can get some curtains and/or blinds back on the windows.  I think that will make a big difference.  Here are some more pictures of the repainted living room.


So...what do you think? Did I make the right decision?