
Hello, friends! Today I have a really cute and easy DIY project just in time for Valentine’s Day.

I actually made this “Je T’Aime” banner last year for Valentine’s Day, but I was going through a bit of a blogging hiatus and therefore never got it posted. But I wanted to make sure I posted directions this year so you had a chance to make one for yourself!
My banner was inspired by this one by michiemay on Etsy. It was for sale on Antropologie last year, which is where I found it.
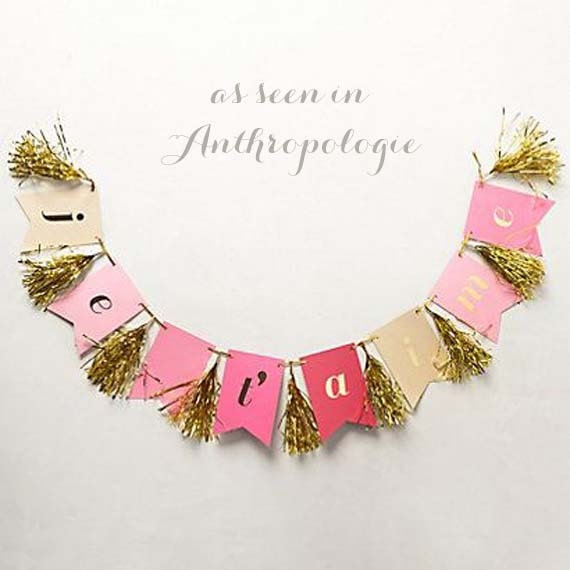
Isn’t it cute?! Now I absolutely support buying from individuals on Etsy, so if you’d like to buy the pre-made banner from her, go for it! I didn’t have $40 to spend on Valentine’s décor so I made my own version.
For my DIY version, here is what you’ll need:

- Four sheets of cardstock in various hues of red and pink
- Four sheets of tissue paper (I used two colors but you can just use one if you want)
- Ruler and pencil
- Sharpie
- Ribbon
- Hole punch
- Paper cutter (optional)
- Fancy edge scissors (optional)
Start by making your letters.
1. Cut out a 3” x 6” rectangle from your sheet of cardstock, either using scissors or a paper cutter. You’ll need two rectangles from each sheet.
2. Measure 1.5” from the bottom of the sheet and mark it. Make another mark 1.5” from the edge (center of the width). Make the intersection of these two points, and use your ruler to draw a straight edge from the bottom corners to this point. Cut out the triangle.

3. If desired, use the fancy edge scissors to trim all edges of the rectangle.

4. Draw one letter onto each piece. I free-handed mine, but if you prefer you can use stencils, stickers, etc. Be sure to draw on the side opposite of the one with your pencil markings. For the ombre look, start with your darkest shade of cardstock, then work in so the palest color is in the center, and back out so your darkest color is at the other end again. Be sure to leave one piece blank for the space between “Je” and “T’aime.”
5. Punch a hole in both upper corners of each sheet. I used a heart punch because that’s what I had around, but you can certainly use a regular hole punch.

Next, make the tissue paper tassels.
1. Unfold your sheet of tissue paper, then fold it in half, and in half again.

2. Make the fringe by cutting small strips in the tissue paper, starting at the open edges. Leave about an inch from the top, folded edge uncut. I found it easier to cut the paper when I placed something on the top edges. This helped me keep the layers together when I made the cuts.

3. Once you’ve cut all the fringe, unfold the paper lengthwise.

4. Cut it in half. This will give you two tassels out of each sheet of tissue paper.

5. Unfold the cut sheet.

6. Tightly roll up the tissue paper lengthwise.

7. Tightly twist the center part of your tassel.

8. Twist the middle section into a loop. You should be able to twist it tightly enough that you don’t need to secure it, but if you want to make sure it stays together you can use a small drop of hot glue.

Now you’re ready to assemble the banner! Cut a length of ribbon around 6 feet long and string on your materials, alternating letters and tassels. If you’re using a thin ribbon you may need to knot the ribbon around the letters and tassels so they don’t slide. I didn’t need to do that with my banner.

Use washi tape or another tape that won’t damage your surface to tape the banner to your mantle. You could also use the banner to decorate a buffet, stair rail, or doorway.

That’s it! The whole project took me about 30-45 minutes, pretty simple. I had all the materials on hand from my old scrapbooking stuff and other craft supplies, but if you went out and bought everything it shouldn’t cost you more than $5.
Do you decorate your home for Valentine’s Day? I’d love to see your décor, especially any DIY projects! Leave a note in the comments section. And if you make this banner, please share it with me! Leave a comment or tag me on Instagram or Twitter (@blue11interiors).
P.S. I’m also excited to announce that I’ll be making this project on TV this Wednesday! If you’re in the Kansas City area, you can see me on Better KC on KCTV5 Wednesday, February 4 at 9 a.m. I’d love to know I have a few friends watching!
HI I am Cameron Ashmore Ceo at TOP WIN INDUSTRIAL CO., LTD Top win is the professional company. We are providing kids play tent house with the best quality and fully trust of our clients.
ReplyDelete